Hopefully by now, you’re in full spring cleaning mode. Inbox de-cluttered? Check! Cubicle scrubbed? Check! Closet cleared out? Check—well, in progress.
Now, don’t forget about your trusty sidekick: your smartphone. And I don’t mean wiping down the screen (although it could probably use that, too)—I mean actually going through those apps, getting those updates, and making sure your phone is running in tip-top shape.
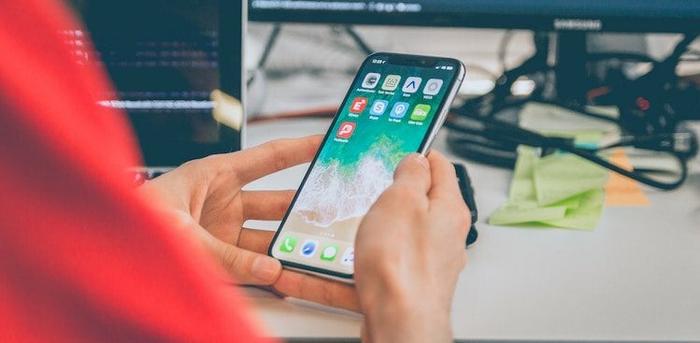
Remember, your phone is the only item that spends more time with you than your friends and family, so it definitely deserves some spring cleaning love.
Here’s your four-step process.
Step 1: Update Those Apps
Yeah, I know it feels like each app on your phone comes out with an update every other day, but in most cases they’re important. You don’t want to miss a security patch that’s keeping your data safe or even just a cool new feature. So hook yourself up to some fast WiFi and update those apps.
Pro tip: Even more important than updating your apps is keeping your iOS operating system up to date. These updates happen less frequently, but have more critical security implications. So hook your phone up to your laptop and get the next version on there ASAP.
Step 2: Delete, Delete, Delete
If you’re anything like me, you have quite a few apps on your phone that didn’t meet your expectations, were for a one-time event, have since been replaced by something better, or were wishful thinking in the first place (Meditating, anyone?). Taking the time at least once a year to clear these out will open up memory on your phone for new app experiments and will keep your phone’s battery from draining quite so quickly.
Pro tip: Do this on the go! Scroll through when you’re waiting in line for coffee or on the bus and delete a few apps at a time—that “wasted” time is now time well spent.
Step 3: Rearrange and Group
Now that you only have the apps that you use left (congrats!), it’s time to organize them in the most intuitive way for your needs. Everyone has their own preference, but here are some popular app organizing styles:
The One Page Per Theme
If you don’t like to group apps into folders, you can still organize them thematically. Put your most used apps on the front page, and then follow on with groupings like “Health/Food,” “Work Apps,” “Productivity,” and “Games”
The Mega-Grouping
On the other end of the spectrum, create folders for everything imaginable so that all your apps are available on the first two pages.
The Alex
OK, so this isn’t an official name, but what I like to do is have any apps I use a lot (or should use a lot) be visible without grouping them into folders. Those key apps are for the most part on the front page, with a few overflowing to the second page. The rest I group into folders.
Not sure how to move your apps around? Check out Alvin Alexander’s quick tutorial to get started.
Pro tip: To make step one easy, keep your Settings and App Store icons out of groups. You’ll notice the update notifications much more easily.
Step 4: Close Apps You Aren’t Using
It was months after I got my iPhone that I learned a simple trick: closing apps that were running in the background. Before that, I didn’t know they were still running! For all those months, apps I’d opened once and never reused were sucking up my battery life.
Now, I use these quick steps to prevent the loss of speed and battery life that comes from having tons of open apps:
- Double tap your home button to get the multitask view to appear. This view lets you quickly scroll or switch to recent apps.
- Swipe it up to remove it—Don’t worry, this doesn’t delete the app, it just closes it.
Pro tip: Do this more than once a season. I close out apps several times a week to keep my iPhone running smoothly.
There you have it—four simple steps and your iPhone is updated, organized, and running better than ever. Now—which new apps to download?